Hi Guys,
Happy Thursday!! Can you believe it is September already? Where did the summer go? My kids went back to school today and fall weather is supposed to be here in a few days. We had a great Summer. What did you guys do this summer? We spent the last few weeks of summer in the pool, going to garage sales, and we spent a day at the NY state fair. 


I am sad to see summer go but I am also looking forward to getting back to a routine.
So I am working on my Swaps for this month and I need to share with you guys the card I created.
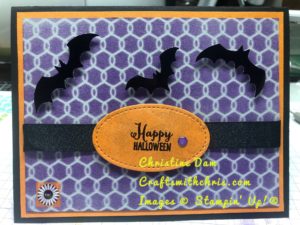
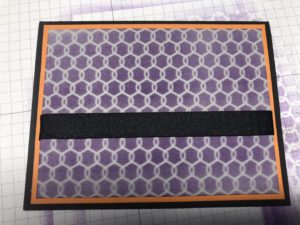
Super cute right? Oh my, I love this one so much and I created that super cool background. I will take you step by step on how I created this one.
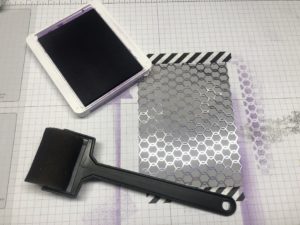
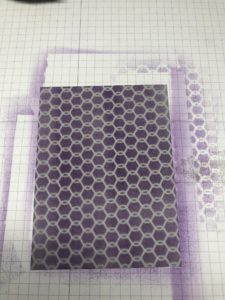
You will start off with Basic Black as your A2 card base (5 1/2 by 8 1/2 fold at 4 1/4). Next you will layer Pumpkin Pie cardstock which was cut 5 1/4 by 4. Then I cut a piece of Smoky Slate card stock at 5 by 3 3/4. Now here is the fun part. I took a piece of the Chicken Wire Elements Foil sheets and placed on top of the Smoky Slate and used a piece of washi tape on the top and bottom to hold it in place. I made sure the washi tape was not covering the whisper white cardstock. Then I took a sponge brayer and rolled Gorgeous Grape ink all over it. When I was done I carefully removed the washi tape and I had this beautiful background. It’s perfect for this Halloween Card.
So before I glued it to the top of the card I cut a piece of Black Satin Ribbon and secured the ends down about 1/3 rd of the way from the bottom.
Then I took Pumpkin Pie cardstock and cut the 2nd smallest stitched shape oval. I used the stamp set Spooky Sweets and took the stamp that looks like fog or a mist and stamped it with Smoky Slate ink. I first stamped it off on scrap paper and then stamped it on the stitched shaped oval. So it leaves a really light mark over your oval. I then took my embossing buddy and wiped it across the oval. I used the Happy Halloween stamp with Versa Mark ink and stamped it in the center of the oval. I used Black Stamping Emboss Powder and then heat set it with my heat tool. 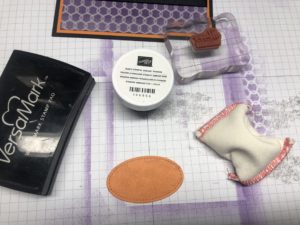
The final touch I did to the front of this card was I used the Spooky Bats punch and cut out the bats on the Black Foil Sheet. Then I used Stampin up Dimensionals and the Mini Dimensionals to pop up the bats and the Stitched Shape oval. The last thing I added was a Gorgeous Grape glitter enamel dot to the oval.
So I couldn’t stop there… I needed to add a piece of white cardstock cut at 5 1/4 by 4 to the inside because the card base was Basic Black. So I had this idea to create a moon and I wanted to use the bat stamp over the moon. I took a piece of scrap cardstock and cut the 4th smallest layering circle framelits out of it. As you can see in the picture I made sure to cut it with enough card stock on all sides because I was going to use a sponging technique. 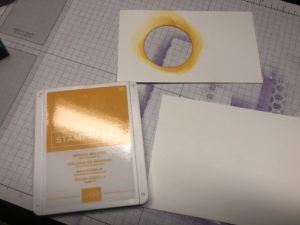
I used Mango Melody and used a sponge dauber to put the ink inside the circle. I lined the circle at the top left side and used circular motions to make the moon shape.
I then used the stamp that looks like fog or mist and used Smoky Slate to stamp it right over the moon. I did not stamp it off like I did on the oval stitched shape. I finished it with the bat stamp. I used Tuxedo Black Memento ink to stamp the bats right over the moon.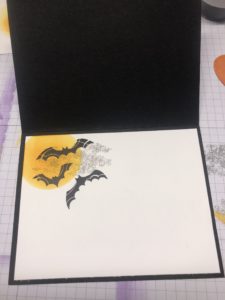
What a super easy Halloween Card and it really has that wow effect inside and out.
Here is a complete list of all the materials I used to make this card:
Product List


 Satin Ribbon")


